
It takes time, accuracy, and close care to finish tanning a deer hide for mounting. So, how to tan a deer hide for mounting?
A time-honored and satisfying procedure that has been utilized for ages is tanning a deer hide for mounting. Using this technique, animal hides can be preserved while creating stunning, long-lasting works of art.
You can use many methods to tan a deer hide. Every approach offers a unique set of advantages and requires a unique set of materials. Vegetable tanning is the process of curing hides with plant-based tannins.
A satisfying activity that calls great talent, patience, and attention to detail is tanning a deer hide for mounting. The outcome is a stunning and long-lasting work of art that may be proudly shown in a home or place of business. This article will go over the procedures for tanning a deer skin for mounting as well as the equipment and supplies required.
Table of Contents
What Are The Tools And Materials I Should Prepare Before Tanning A Deer?
The lengthy process of tanning a deer calls for close attention to detail, the use of specialized equipment, and a variety of supplies. It’s crucial to acquire all the tools and materials required for a successful tanning procedure before starting this activity.
Sharp Knife
A sharp knife is the first item required for tanning a deer. A knife is required to skin the deer and trim the hide of any residual flesh and fat. For the purpose of eliminating any extra fat and tissue from the hide, a fleshing knife is also advised.
Scraping Tool
The hair and surface layer of skin must also be scraped off the hide using a scraping instrument like a bone scraper or a fleshing beam. To endure the pressure necessary to remove the hair and skin, the scraping tool should be robust and long-lasting.
Tanning Solution
The hide must be scraped and then immersed in a tanning solution. You can make the tanning solution at home with components like salt, alum, and water or buy it from a source. This stage requires a container that can accommodate both the hide and the tanning solution.
Stirring Tool & Gloves
A stirring tool is also necessary to agitate the tanning solution and spread it uniformly across the hide in order to guarantee that it is applied to the hide in an even manner. To protect your hands from the toxins in the tanning solution, gloves should also be worn when tanning.
Stretching Frame Or Board
Stretching and drying are required once the hide has been immersed in the tanning solution. The hide must be kept in place and prevented from shrinking or curling during the drying process, which necessitates the use of a stretching frame or board.
Salt & Alum
The tanning of a deer skin also requires specific supplies in addition to these equipment. Because it helps to retain the hide and stop it from disintegrating, salt is a crucial component of the tanning solution. Alum is yet another crucial component that aids in conditioning and softening the hide.
Numerous equipment and supplies are needed to successfully tan a deer. The tanning procedure calls for the use of a sharp knife, a stretching frame, a scraping tool, a stirring tool, and gloves. The tanning solution must contain salt and alum, and a container big enough to hold the hide is also important. Anyone can tan a deer hide at home successfully if they have the correct equipment and supplies.
How To Tan A Deer Hide For Mounting?
When tanning a deer skin for mounting as opposed to other uses, like leather, a little more care must be used. The main procedures for tanning a deer skin for mounting are as follows:
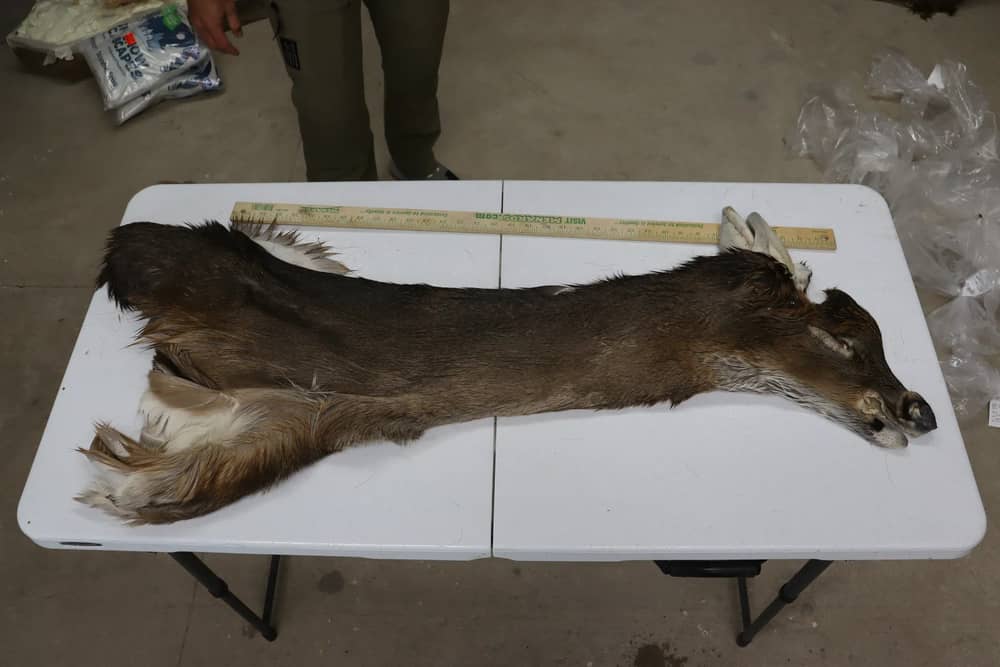
Fleshing The Hide
To remove all the meat, fat, and connective tissue from the skin, the hide must first be fleshed. Use a fleshing knife or scraper to accomplish this. Throughout this process, exercise caution to avoid cutting or harming the hide.
Soaking The Hide
After the hide has been fleshed, it needs to be soaked in water to get rid of any pollutants like blood or dirt. The hide should be submerged in calm, clear water for several hours or overnight. A thorough submersion of the hide in the water should be achieved.
Pickling The Hide
To prevent bacterial growth and get the hide ready for tanning, the hide must be pickled after soaking. You can make a pickle solution out of water, salt, and an acid like vinegar or citric acid. The hide should rest in the pickle mixture for a few days, or until it is thoroughly absorbed.
Neutralizing The Hide
The hide must be neutralized after pickling in order to get it ready for tanning. This can be accomplished by neutralizing the acid in the hide with a baking soda and water solution.
Tanning The Hide
After being neutralized, the hide can be tanned using a tanning solution. Although there are many alternative tanning treatments available, using an alum and salt solution is a well-liked method. It is recommended to leave the tanning solution on the hide for several days, or until the hide has fully absorbed it.
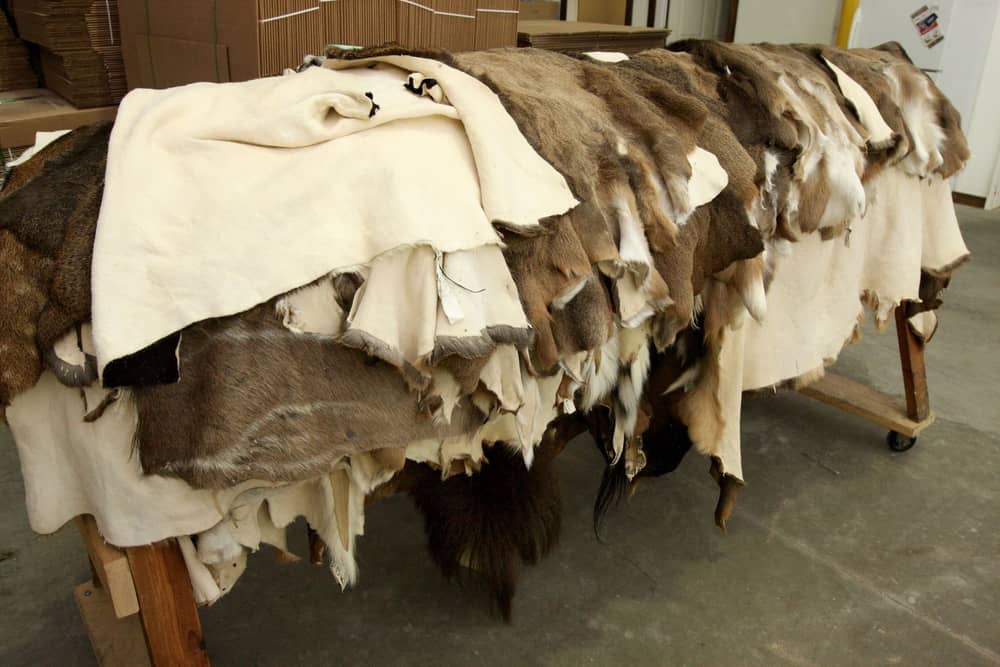
Stretching And Drying The Hide
After tanning, the hide needs to be spread out and dried. For this, both a stretching frame and physical effort are suitable. After the hide is completely dry and stiff, stretch it.
Softening The Hide
To finish off, the hide must be conditioned in order to install it. You can accomplish this by employing a softening solution, like neatsfoot oil or mink oil. The softening solution should be left on the hide for many hours, or until it has completely soaked into the hide. Don’t forget to rub and knead the solution into the hide.
Anyone may effectively tan a deer skin for mounting by following these simple instructions. Yet, it’s crucial to keep in mind that tanning can be a laborious procedure that calls for patience and close attention to detail. Depending on the size of the hide and the tanning technique employed, the procedure could take many weeks or even months to finish.
Important Note When Tanning A Deer Hide For Mounting?
There are various considerations you should make when tanning a deer hide for mounting, including:
To completely remove the skin’s meat, fat, and connective tissue, the hide must be well fleshed. Failing to do so may lead to the growth of bacteria and unpleasant odors.
After fleshing, the hide should be thoroughly salted to draw out any extra moisture and stop bacterial growth. Rub the salt into the hide thoroughly, paying particular attention to the places with thicker skin.
Stretching the hide while it dries will stop it from shrinking and stiffening. Stretch the hide using a stretching frame or hoop, then move it around occasionally to ensure even drying.
To get rid of any last bits of salt and debris, thoroughly clean the hide after it has dried. This can be accomplished by either washing the hide with cold water or brushing it with a stiff-bristled brush.
The actual tanning process is crucial for maintaining the hide’s suppleness and flexibility. Several methods, such as vegetable tanning, brain tanning, and industrial tanning, can be used to tan the hide. It’s important to choose the proper strategy and carefully follow the instructions.
The hide can be finished after tanning by being softened with oils or being preserved with a conditioner. The deer hide can then be mounted for exhibition.
Final Thoughts
To sum up, tanning a deer skin for mounting is a labor-intensive operation that calls for persistence, expertise, and close attention to detail. Yet with the correct equipment and methods, it can be a satisfying experience that yields a stunning mount that will survive for many years. Keep in mind to use chemical protection and to work in a well-ventilated location. You may mount your hunting trophy to seem professional and protect the beauty of the deer hide for future generations with practice and perseverance.